How to create a Vue 3 component library with TypeScript
In this article, you'll learn how to create a Vue 3 component library supercharged with TypeScript.
Component libraries are great to encapsulate repeatable UI components and logic across multiple projects.
For example, we will create a simple Input.vue component.
This can be an overwhelming task, but we will tackle each point step-by-step.
Here are the key steps that we are going to explain:
- Dependencies required and what they do
- Creating the TypeScript configuration with multiple tsconfig.json files
- Defining the Vite configuration both for dev-server and component-library build
- Generating a sandbox development environment
- Creating and using various npm commands/scripts
Creating the component library starter
We will not use the normal scaffolding process of Vue projects to create our component library (like using Vue CLI or Vite CLI), but instead create everything from scratch manually.
$ mkdir vue-3-component-library
$ cd vue-3-component-library
$ npm init -y
$ git init
$ touch .gitignore && echo "node_modules" >> .gitignore
Installing dependencies
Install the following dependencies:
$ npm i --save-dev typescript vue vue-tsc vite sass @vitejs/plugin-vue @vue/tsconfig @types/node @babel/types
typescriptbecause we write TypeScript inside our.vuefiles.viteis the build tool.@vitejs/plugin-vueis the Vite plugin to handle.vueSFC.vue-tscis the TypeScript compiler for.vuefiles (more on that later).sassas a CSS pre-processor, it will be used inside our custom components.@vue/tsconfigcontains multiple tsconfig exposed by the Vue team.@types/nodeto install Node TypeScript declaration files (this is a requirement in every TypeScript project).@babel/typesis a type-declaration package used with Vue and Vite during the build.
TypeScript tsconfig configuration
We'll take advantage of TypeScript references to create multiple tsconfig files that will handle its own domain (e.g. testing, core components, tooling config, etc).
Root tsconfig
This root tsconfig.json contains a reference to all the others tsconfig files.
// tsconfig.json
{
  "files": [],
  "references": [{ "path": "./tsconfig.config.json" }, { "path": "./tsconfig.app.json" }]
}
Components tsconfig
This tsconfig.app.json will take care of compiling our Vue components inside src/.
// tsconfig.app.json
{
  "extends": "@vue/tsconfig/tsconfig.web.json",
  "include": ["env.d.ts", "src/**/*", "src/**/*.vue"],
  "exclude": ["src/**/__tests__/*", "src/**/*.cy.ts"],
  "compilerOptions": {
    "composite": true,
    "baseUrl": "."
  }
}
Build-types tsconfig
This tsconfig.types.json will take care of generating the proper types declaration files of our Vue components inside src/ (more on that later).
// tsconfig.build-types.json
{
  "include": ["src/**/*"],
  "exclude": ["node_modules", "**/*.cy.ts", "**/*.spec.ts", "**/__tests__/**/*"]
}
Tooling configuration tsconfig
This tsconfig.config.json will take care of all our tooling configuration files (we only have vite at the moment).
// tsconfig.config.json
{
  "extends": "@vue/tsconfig/tsconfig.node.json",
  "include": ["vite.config.*", "vitest.config.*", "cypress.config.*"],
  "compilerOptions": {
    "composite": true,
    "types": ["node"]
  }
}
Now your TypeScript configuration should be good, but if you are using VSCode with Volar extension, you also need to enable the Takeover Mode to ensure you have a great developer experience.
Vite configuration
Vite requires a configuration to compile and bundle our .vue files to .js files that can be consumed through an npm module.
It's good to know that Vite uses rollup.js under the hood for the compilation of the component library.
import { resolve } from 'node:path'
import { defineConfig } from 'vite'
import Vue from '@vitejs/plugin-vue'

export default defineConfig({
  // If our .vue files have a style, it will be compiled as a single `.css` file under /dist.
  plugins: [Vue({ style: { filename: 'style.css' } })],

  build: {
    // Output compiled files to /dist.
    outDir: './dist',
    lib: {
      // Set the entry point (file that contains our components exported).
      entry: resolve(__dirname, 'src/index.ts'),
      // Name of the library.
      name: 'my-component-library',
      // We are building for CJS and ESM, use a function to rename automatically files.
      // Example: my-component-library.esm.js
      fileName: (format) => `${'my-component-library'}.${format}.js`,
    },
    rollupOptions: {
      // Vue is provided by the parent project, don't compile Vue source-code inside our library.
      external: ['vue'],
      output: { globals: { vue: 'Vue' } },
    },
  },
})
Declare Vite types inside our project
We need to explicitly tell our TypeScript compiler that Vite exposes its own types declaration.
To do this, we can create a file env.d.ts with the following line:
/// <reference types="vite/client" />
Make sure to reload your VSCode after creating this file.
Adding npm commands/scripts
We'll use a few commands during our development process:
npm run dev: start a local dev-server with a sandbox environment where we can develop the component-library.npm run build: use Vite to build our component library (compiles.vuefiles to.js) and callbuild:typesscript.npm run build:types: generate TypeScript declaration files for our.vuefiles (this is usingvue-tsc).npm run typecheck: run a typecheck against our Vue components to make sure there are no type errors (still usingvue-tsc).
The actual commands should be added inside your package.json
{
  "scripts": {
    "dev": "vite",
    "build": "vite build && npm run build:types",
    "build:types": "vue-tsc --project tsconfig.build-types.json --declaration --emitDeclarationOnly --outDir dist/types ",
    "typecheck": "vue-tsc --project tsconfig.build-types.json --noEmit"
  }
}
Preparing our sandbox environment
Vite can start a dev-server straight from a single index.html file.
We will take advantage of this feature to load our sandbox Vue app declared inside sandbox/main.ts.
<!-- index.html -->
<!DOCTYPE html>
<html lang="en">
  <head>
    <meta charset="UTF-8" />
    <meta name="viewport" content="width=device-width, initial-scale=1.0" />
    <title>Vite App</title>
  </head>

  <body>
    <div id="app"></div>

    <script type="module" src="./sandbox/main.ts"></script>
  </body>
</html>
Create the following files:
$ mkdir sandbox
$ touch sandbox/main.ts
$ touch sandbox/App.vue
<!-- sandbox/App.vue -->
<template>
  <main>
    <h1>Welcome to your your sandbox environment</h1>
  </main>
</template>

<script setup lang="ts"></script>

<style lang="scss" scoped></style>
// sandbox/main.ts
import { createApp } from 'vue'

import App from './App.vue'

const app = createApp(App)

app.mount('#app')
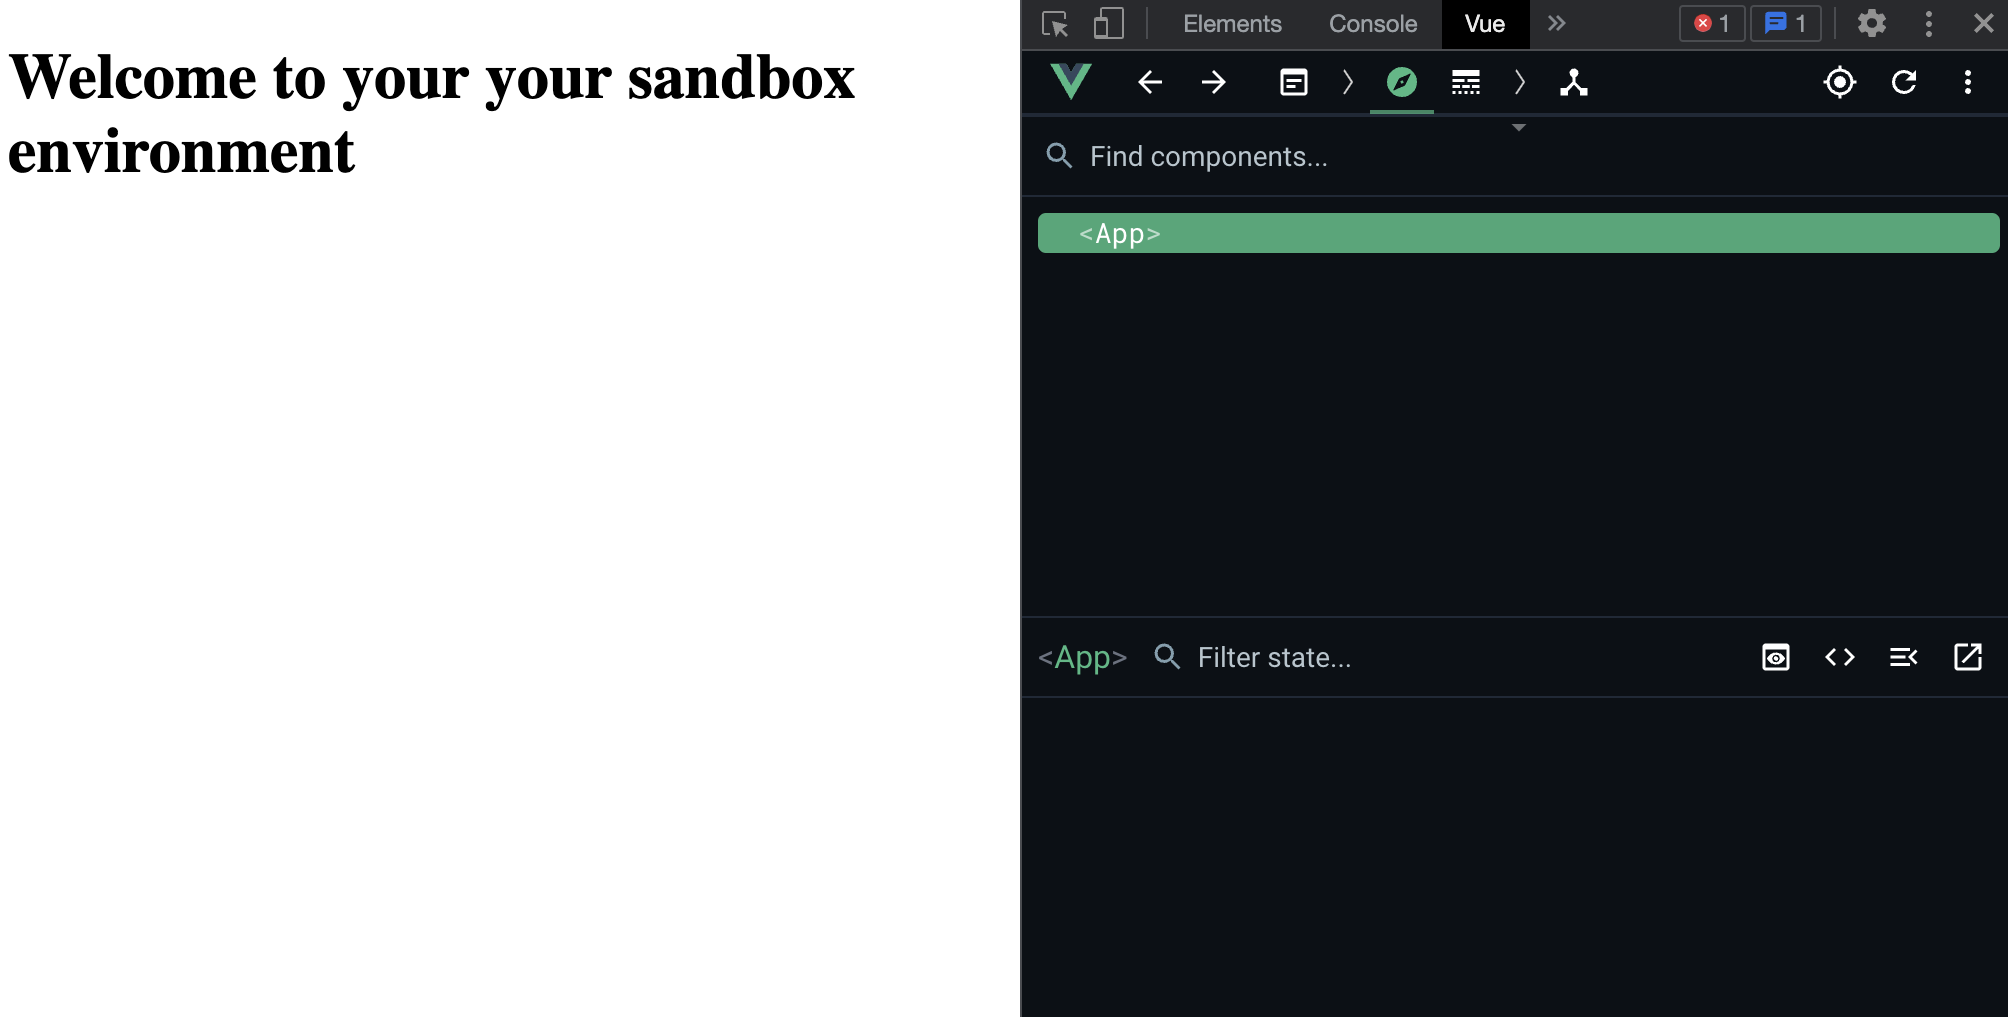
Execute npm run dev to run our dev-server.
Go to localhost:5173 and you should see this:

Creating our Vue 3 + TypeScript component
Time to start creating our Input.vue component.
$ mkdir src
$ touch src/index.ts
$ touch src/Input.vue
Let's create a basic custom input component.
<!-- src/Input.vue -->
<template>
  <div class="input-container">
    <label class="input-label" :for="label">
      <slot></slot>
    </label>

    <input :id="label" class="input" :name="label" v-bind="inputAttributes" />
  </div>
</template>

<script setup lang="ts">
  import type { InputHTMLAttributes } from 'vue'

  withDefaults(
    defineProps<{
      label: string
      inputAttributes?: InputHTMLAttributes
    }>(),
    {
      inputAttributes: () => ({}),
    }
  )
</script>

<style lang="scss" scoped>
  .input-container {
    box-sizing: border-box;
    display: flex;
    flex-direction: column;
    max-width: 250px;

    .input-label {
      box-sizing: border-box;
      margin-bottom: 0.5rem;
      font-size: 21px;
      font-weight: 500;
    }

    input.input {
      box-sizing: border-box;
      width: 100%;
      padding: 0.5rem 0.5rem;
      border: 0;
      border-radius: 4px;
      margin: 0;
      font-size: 16px;
      background-color: rgba(0, 0, 0, 0.1);
    }
  }
</style>
Update the exports in src/index.ts. This is used by the Vite bundler to know what files should be compiled and exported in the component library.
// src/index.ts
import Input from './Input.vue'

export { Input }
Import the Input.vue component into our sandbox environment in order to test it.
<!-- sandbox/App.vue -->
<template>
  <main>
    <h1>Welcome to your your sandbox environment</h1>

    <Input
      label="firstname"
      :input-attributes="{
        placeholder: 'Enter your firstname...',
        type: 'text',
        autocomplete: 'given-name',
      }"
    >
      First-name
    </Input>
  </main>
</template>

<script setup lang="ts">
import Input from "../src/Input.vue";
</script>

<style lang="scss" scoped></style>
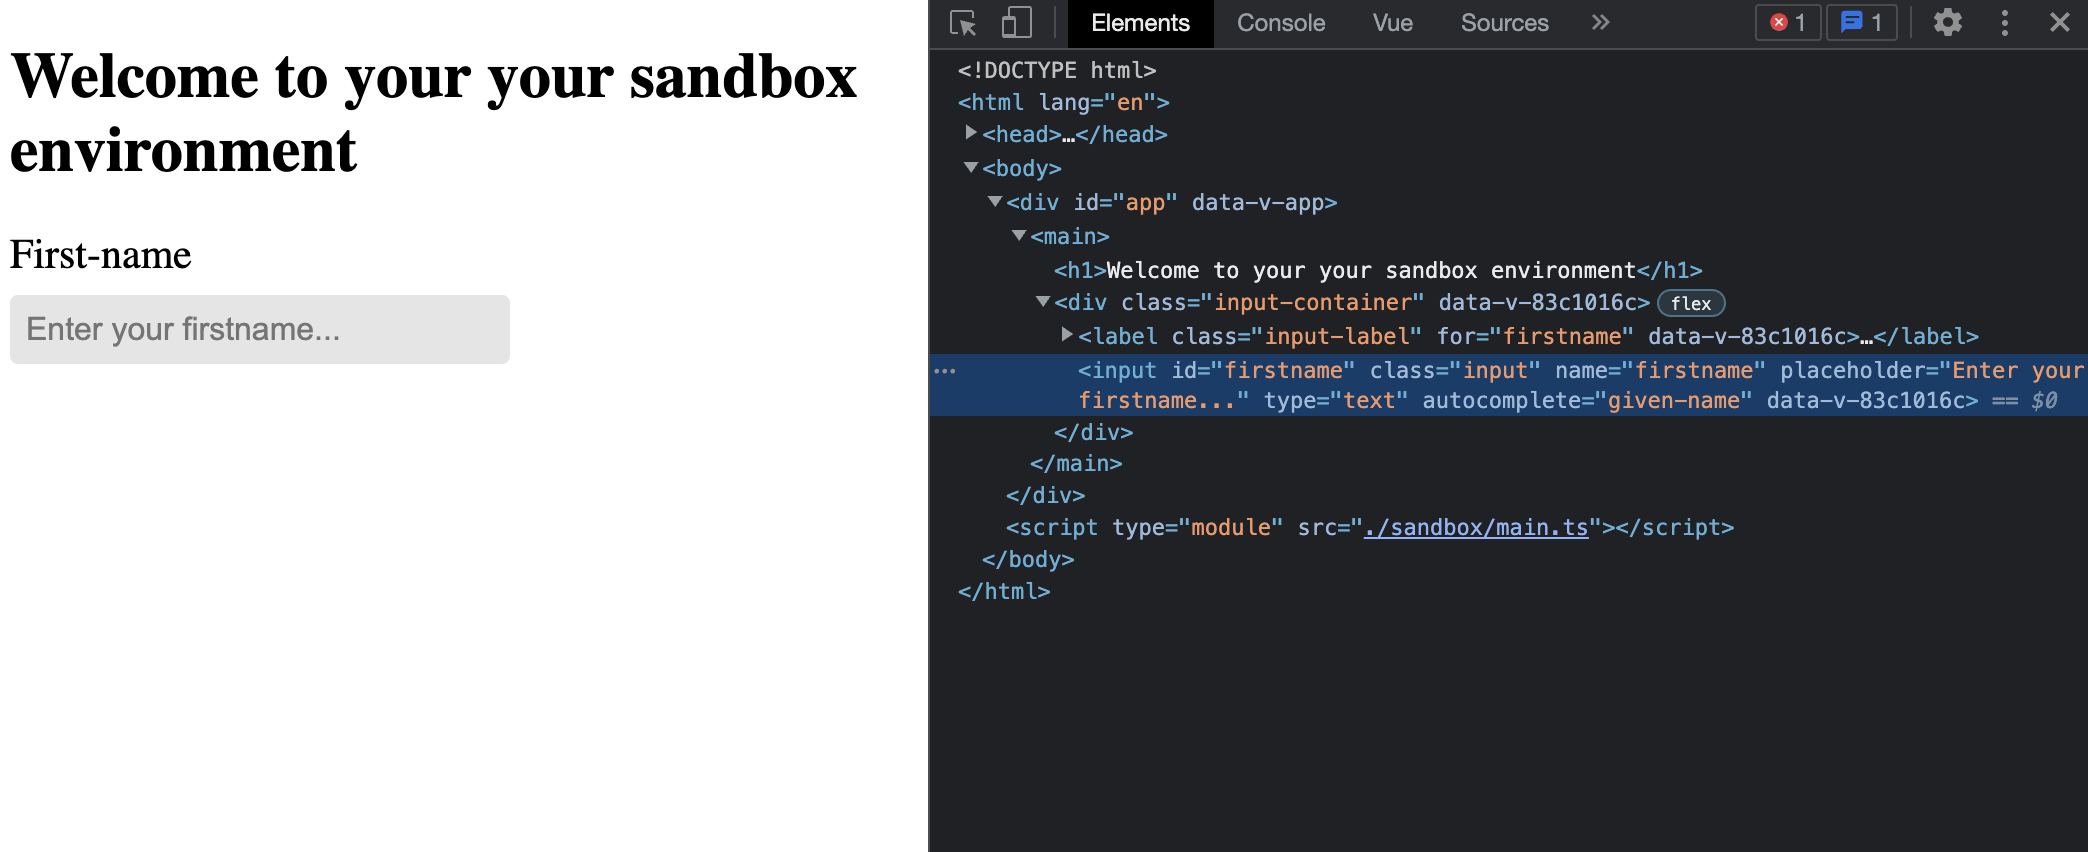
Execute npm run dev to see our sandbox environment with a preview of our src/Input.vue component.


From this, we'll assume our Input.vue is ready for a release.
Creating a build to prepare the npm release
Execute npm run build to generate a production build inside dist/.
The dist/ folder is structured like this:
dist/my-component-library.{es|umd}.js: the actual JavaScript file that will be used in a parent project when importing theInputcomponent.dist/style.css: scoped styling of theInputcomponent.dist/types/{index|Input.vue}.d.ts: those files are generated withnpm run build:typesand are used to provide TypeScript types for theInputcomponent (typed props, slots, imports, etc). Those files are very important for TypeScript projects, without them you won't get any types.
Before creating the npm release, we have one more thing to add inside our package.json.
// package.json
{
  "files": ["dist"],
  "main": "dist/my-component-library.umd.js",
  "module": "dist/my-component-library.es.js",
  "types": "dist/types/index.d.ts"
}
files: an array of files to include in the npm release.main: UMD file entry point.module: ECMAScript module file entry point.types: the types property to point to your bundled declaration file.
Also add dist folder inside your .gitignore file because we don't want to commit this folder in our version-control software.
echo "dist" >> .gitignore
Now that our component library is ready, we can publish it on npm or any other registry you may have.
What's next
I'll write another post to complete this one where we can add unit-tests with Vitest and component-testing with Cypress.